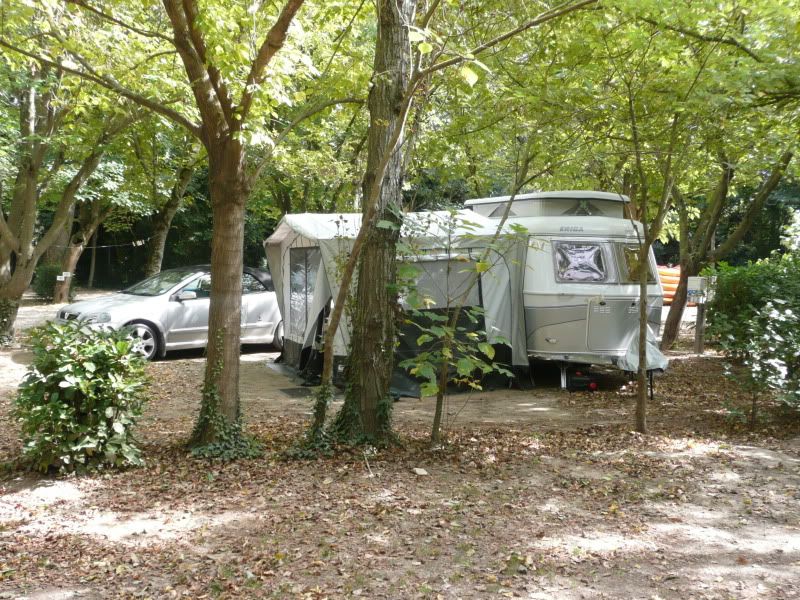
|
|
|
How to upload multiple pictures to the forum.
How to upload multiple pictures to the forum.
in Like how to find latest posts, how to post links and photographs Thu Oct 17, 2013 3:15 pmby Aaron Calder •
 | 3.738 Posts
Photographs taken with modern, high resolution digital cameras create huge data files and if left in their original format they can take a long time to upload and require a lot of storage space on the server.
For this reason, we would ask that contributors reduce the size of their .jpg files to not more than 200KB before uploading them. There are various programs available that will do this automatically for you, one such is Irfanview available for free download from http://www.irfanview.com/
With this program you can easily reduce the physical size of your picture (how it will appear) and at the same time reduce its file size to a pre-set maximum number of KB. These reduced files can then be uploaded as follows:
A: Using "Attach file"
1. When you create a post and want to insert a picture in your text click on the "Attach file" button.
2. Click the "Browse" button and select your reduced size picture file.
3. Click "Upload"
4. Click "Insert", add text and repeat steps 1-4 as necessary
5. When you have finished, click "Preview", do any necessary editing and when you are happy with the appearance of your post, click "Submit".
6. Your pictures will appear on the forum as thumbnails which when clicked will open in a new window like this:
P1000434.jpg - Bild entfernt (keine Rechte)
B: Using a picture file hosting service
1. Using a picture hosting web page such as ‘Photobucket’ makes uploading your pictures easy so the first thing to do is to open an account if you haven’t already got one. Go to www.photobucket.com and sign up. It’s free.
2. Upload your pictures (full size files as taken) to your new Photobucket account following the on-screen instructions. You can put your pictures into albums and add titles if you wish.
3. Now open tabs in your browser for both the forum and your picture hosting account so you can easily switch between them.
4. Click on the forum tab and choose the section where you want to add your contribution and start typing your text. Pictures can be inserted into your text as you are typing.
5. When you want to add a picture, go to your picture hosting page using the browser tab, left click on the picture you want to select and when it has appeared in the centre of the screen left click in the ‘Direct’ box in the grey ‘Links to share this photo’ box to the right of the screen. The link will temporarily turn yellow and ‘copied’ will briefly appear.
6. Now click back on the forum tab to re-open the dialogue box and left click on the little picture icon at the top of the box. You will see two sets of square brackets with "img" and "/img" appear in your text with a flashing cursor between the two sets of brackets.
7. Right click on your mouse then left click on ‘Paste’ and the direct link to your picture on Photobucket will be inserted but automatically at a reduced size.
8. Continue to write your post adding further pictures as required using the above method.
9. When you have finished your post left click on ‘Preview’ to see how your post will appear when uploaded to the forum. You may want to add clear lines (using the ‘Return’ key) before and after pictures so that the text is displayed normally.
10. When you are happy with the content and formatting of your post, left click on ‘Submit’ and it will be uploaded.
11. Your pictures will appear larger than thumbnails but they will not need to be opened in a new window for viewing (like this).
Please note:
I have used 'Irfanview' and 'Photobucket' in these instructions simply because they are programs with which I am familiar. Feel free to use any other programs that perform the same functions that you feel comfortable using.

 This thread has been closed
 This thread has been closed This thread has been closed |
 Visitors Visitors
1 Member and 60 Guests are online. |
 Board Statistics Board Statistics
The forum has 12503
topics
and
105516
posts.
|
 Forum-Chat
 1
1

